iOS Integration
This guide will help you configure your iOS app for ChottuLink Dynamic Links. You can complete this setup either during the initial onboarding or later from your project settings.
Prerequisites
Before integrating ChottuLink into your iOS app, ensure you have the following:
Development Environment
- Xcode 16.2 or later
- Git for version control
Project Requirements
- Minimum deployment targets:
- iOS 15.0+
- macOS 10.15+ (if building for Mac)
- tvOS 13+ (if building for Apple TV)
- watchOS 7+ (if building for Apple Watch)
Testing Requirements
- Physical iOS device or iOS Simulator
- Apple Developer Account (for testing on physical devices)
- Valid provisioning profile and certificates
Configure ChottuLink Dashboard
Start by configuring the ChottuLink Dashboard for your application. This step is typically completed during the onboarding process after registration.
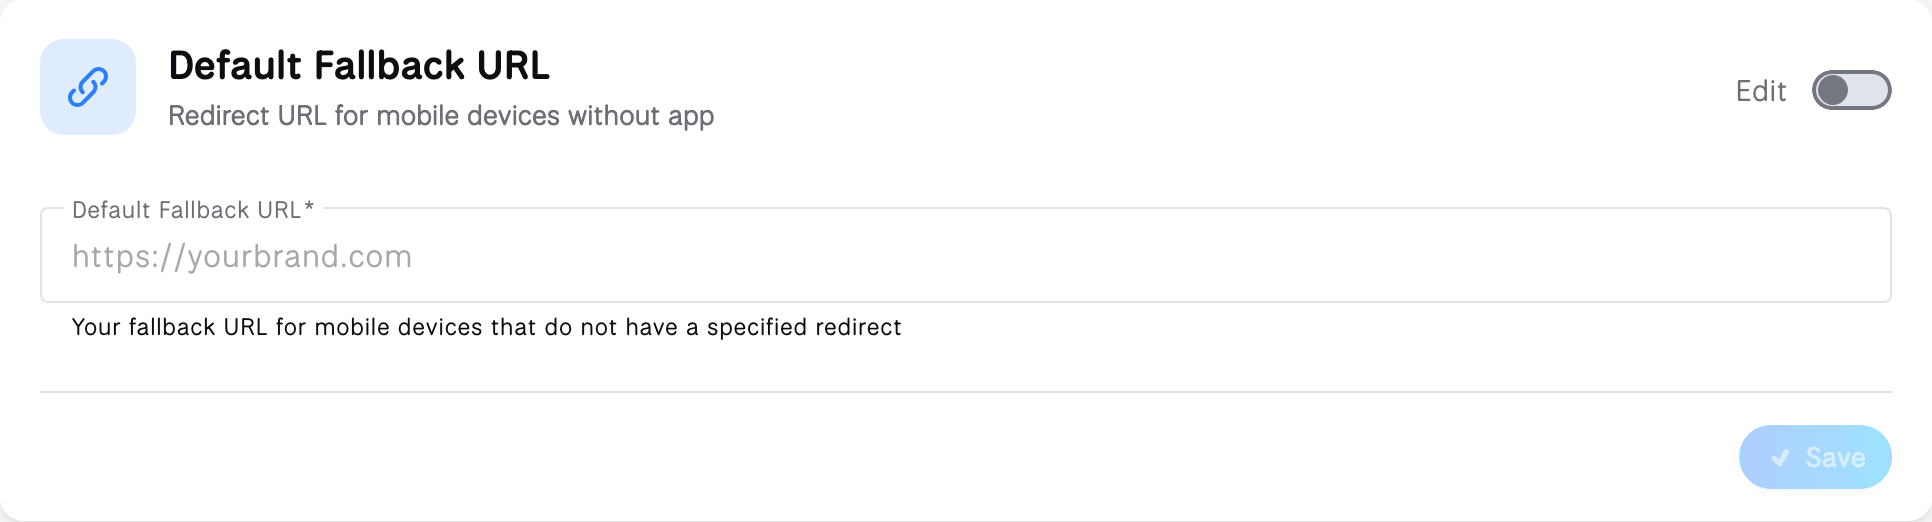
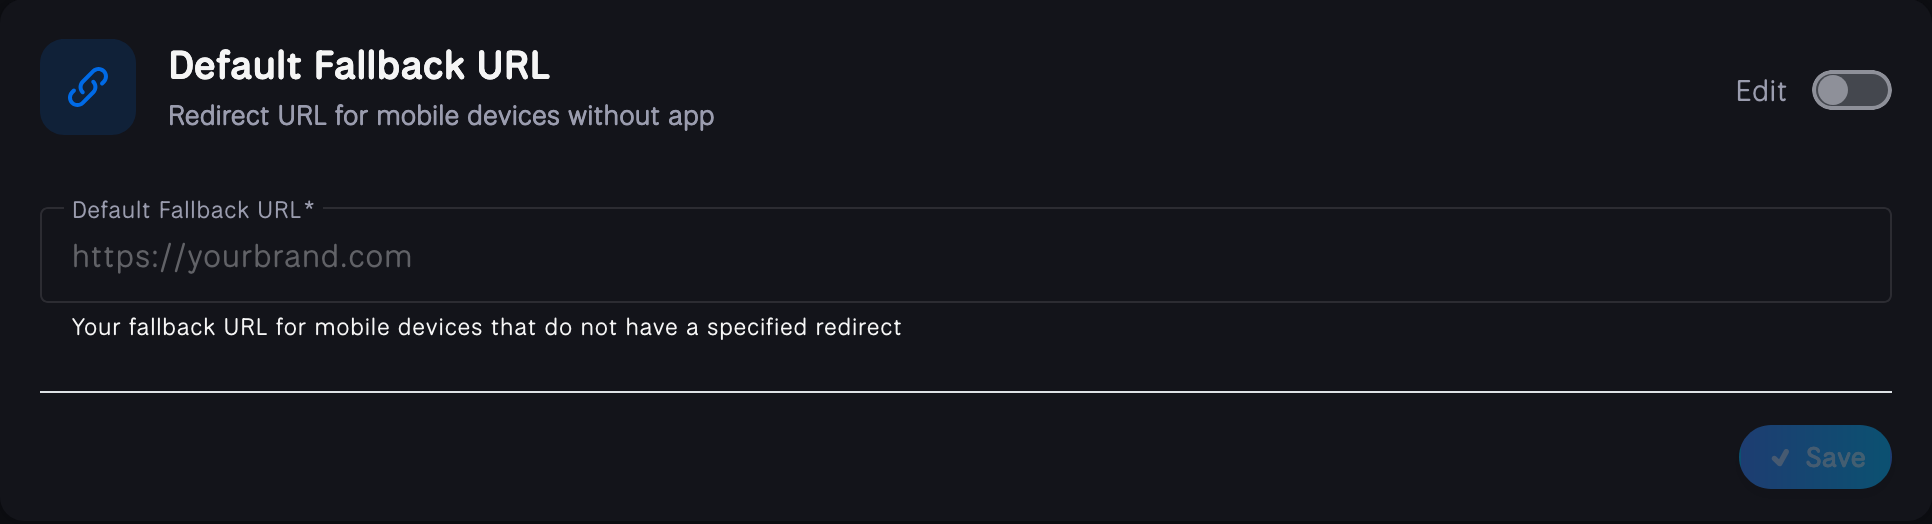
To ensure proper redirection, configure the default fallback URL for your app in the Project Settings section of the ChottuLink Dashboard.
1. Enable iOS App
- Navigate to your project settings ChottuLink Dashboard
- Check the "I have an iOS App" checkbox
- Fill in the required iOS app information
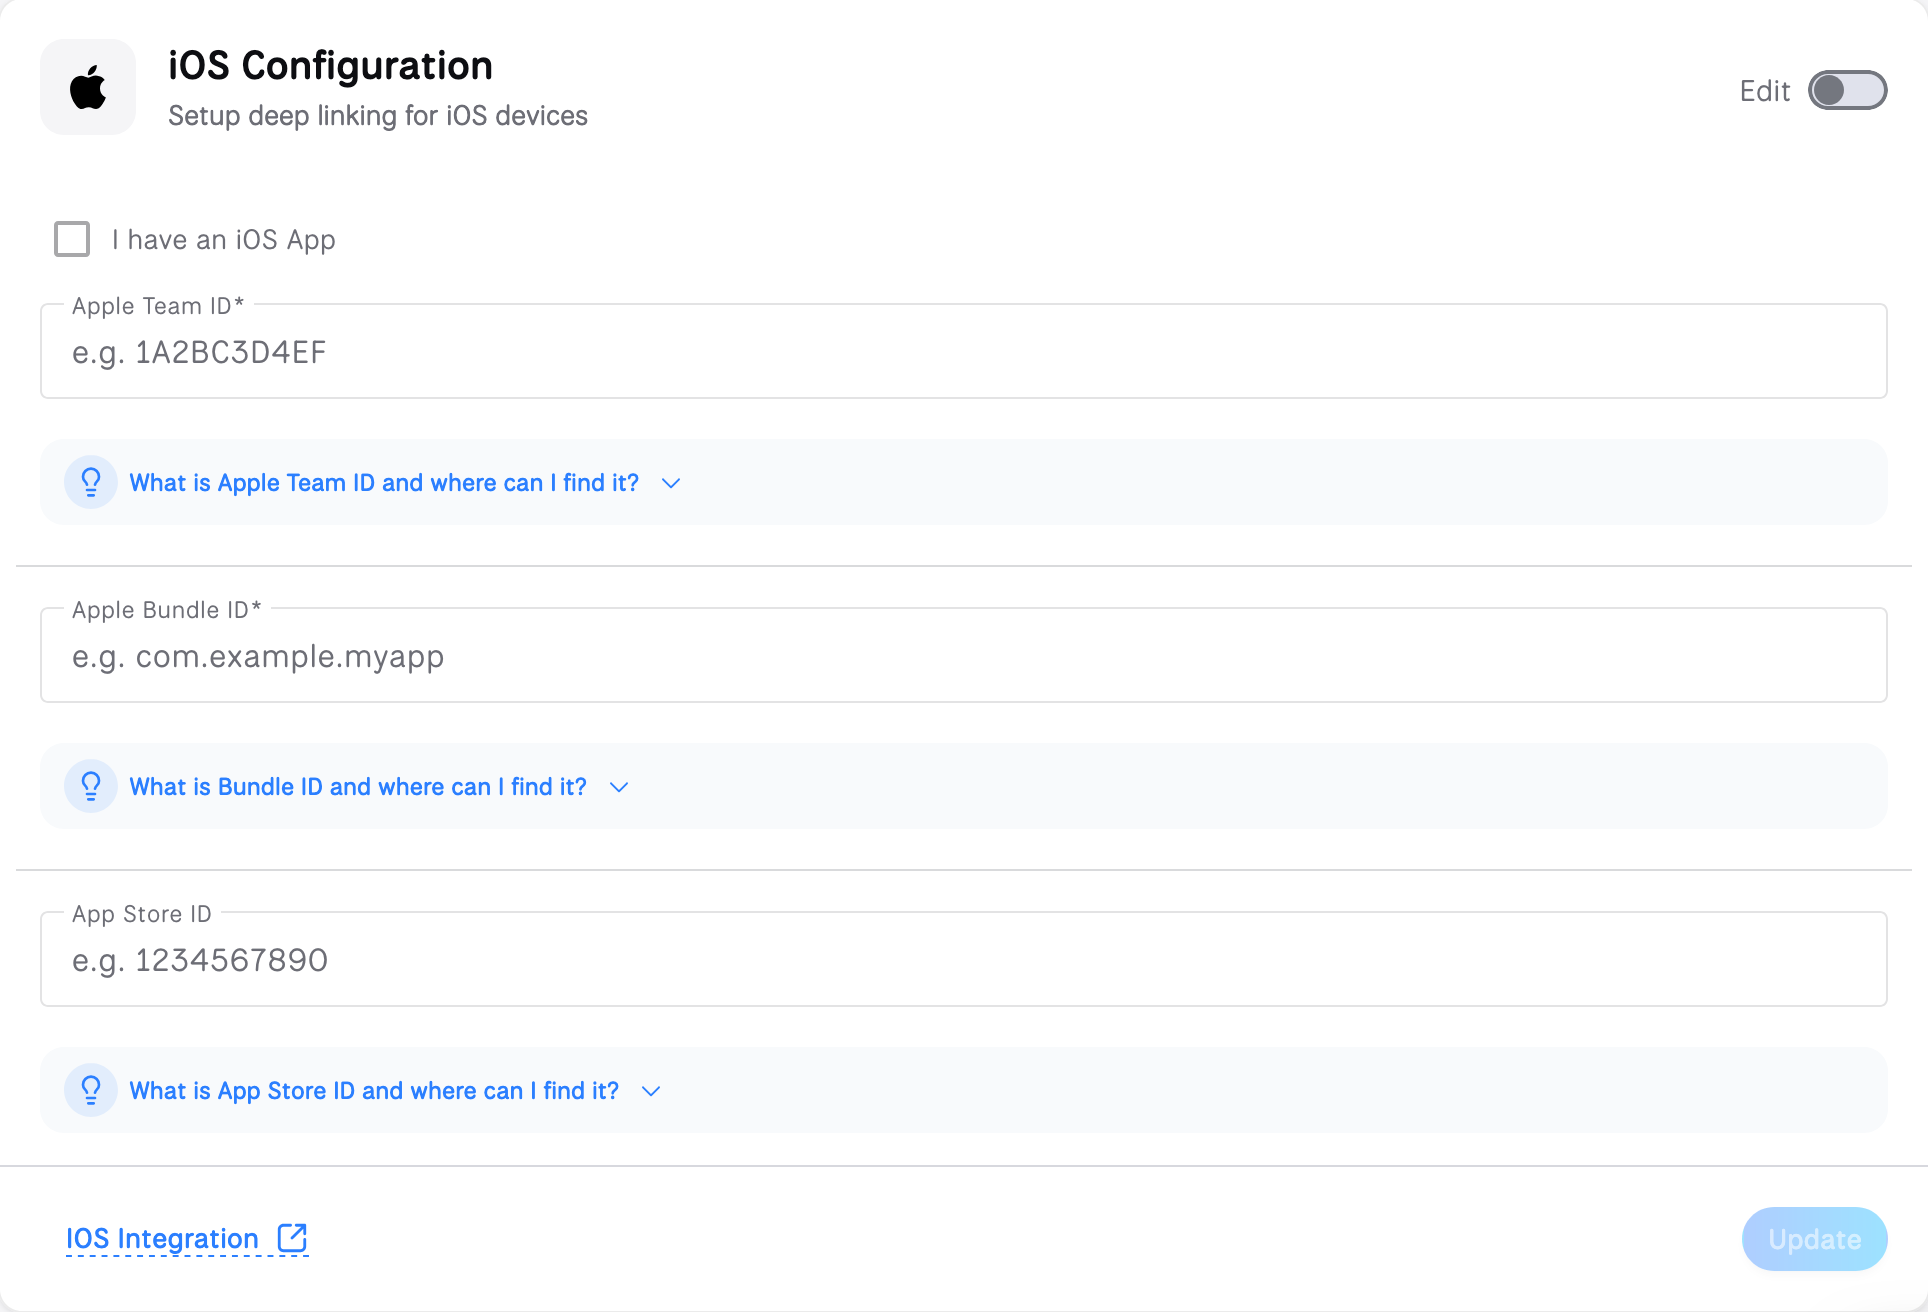
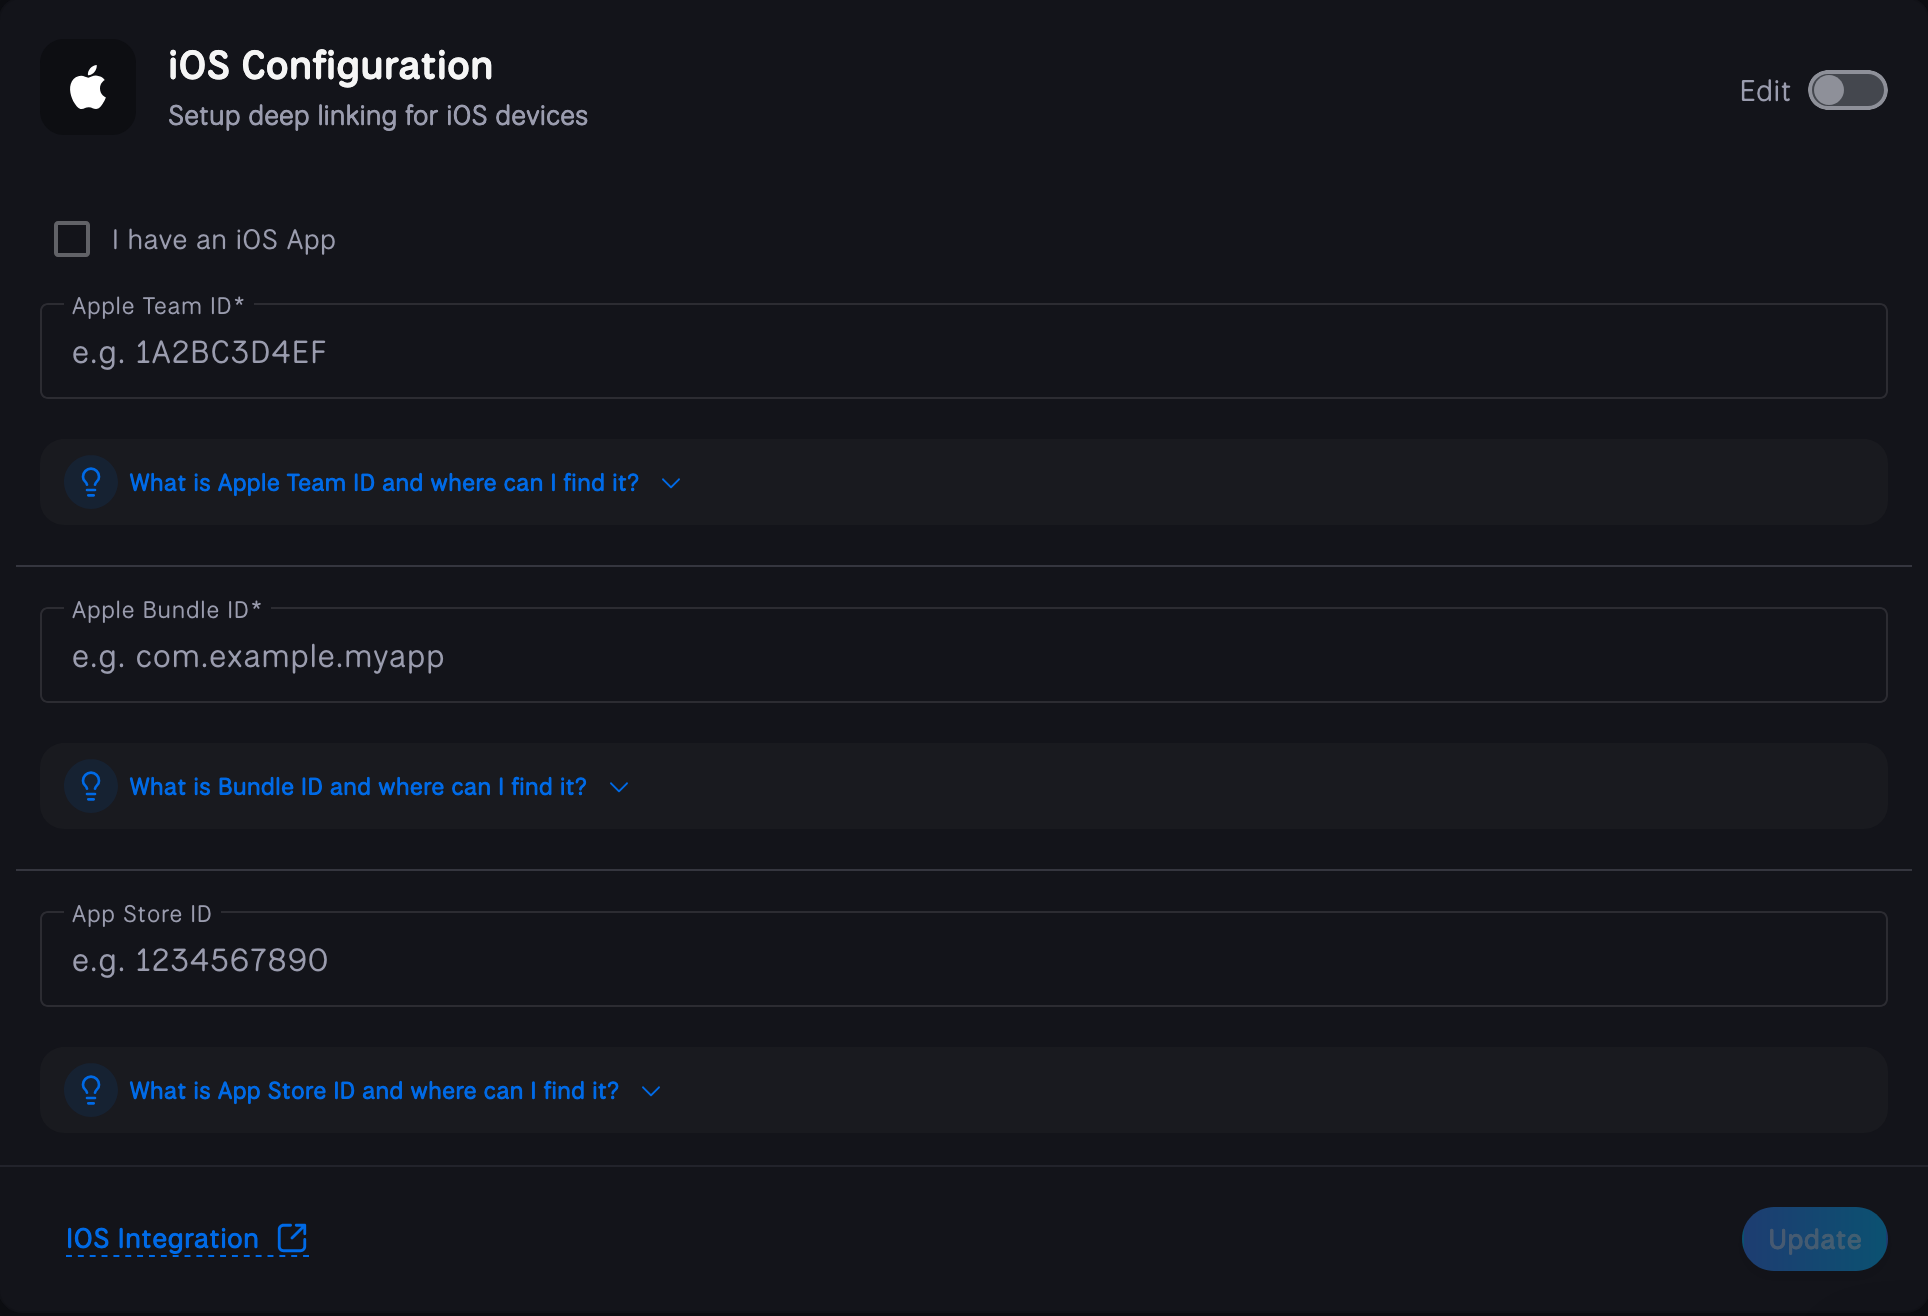
2. Configure Apple Team ID
The Apple Team ID is a unique identifier for your Apple Developer account. It's required for app signing and capabilities.
How to find your Apple Team ID?
- Go to Apple Developer Account
- Click on the "Membership Details" tab
- Your Team ID is listed under "Team ID"
- It's a 10-character alphanumeric string (e.g.,
A1B2C3D4E5)
- It's a 10-character alphanumeric string (e.g.,
3. Configure Bundle Identifier
The Bundle Identifier is your app's unique identifier in the Apple ecosystem.
How to find your Bundle Identifier?
- Open your project in Xcode
- Select your project in the navigator
- Select your target
- Go to the "General" tab
- Look for "Bundle Identifier" under "Identity"
- Format:
com.yourcompany.appname - Example:
com.example.myapp
- Format:
4. Configure App Store ID
The App Store ID is required if you want to direct users to your app in the App Store when they don't have your app installed.
How to find your App Store ID?
- Go to App Store Connect
- Select your app
- The App Store ID is in the URL:
https://appstoreconnect.apple.com/apps/[APP_STORE_ID]- It's a numeric value (e.g.,
123456789)
- It's a numeric value (e.g.,
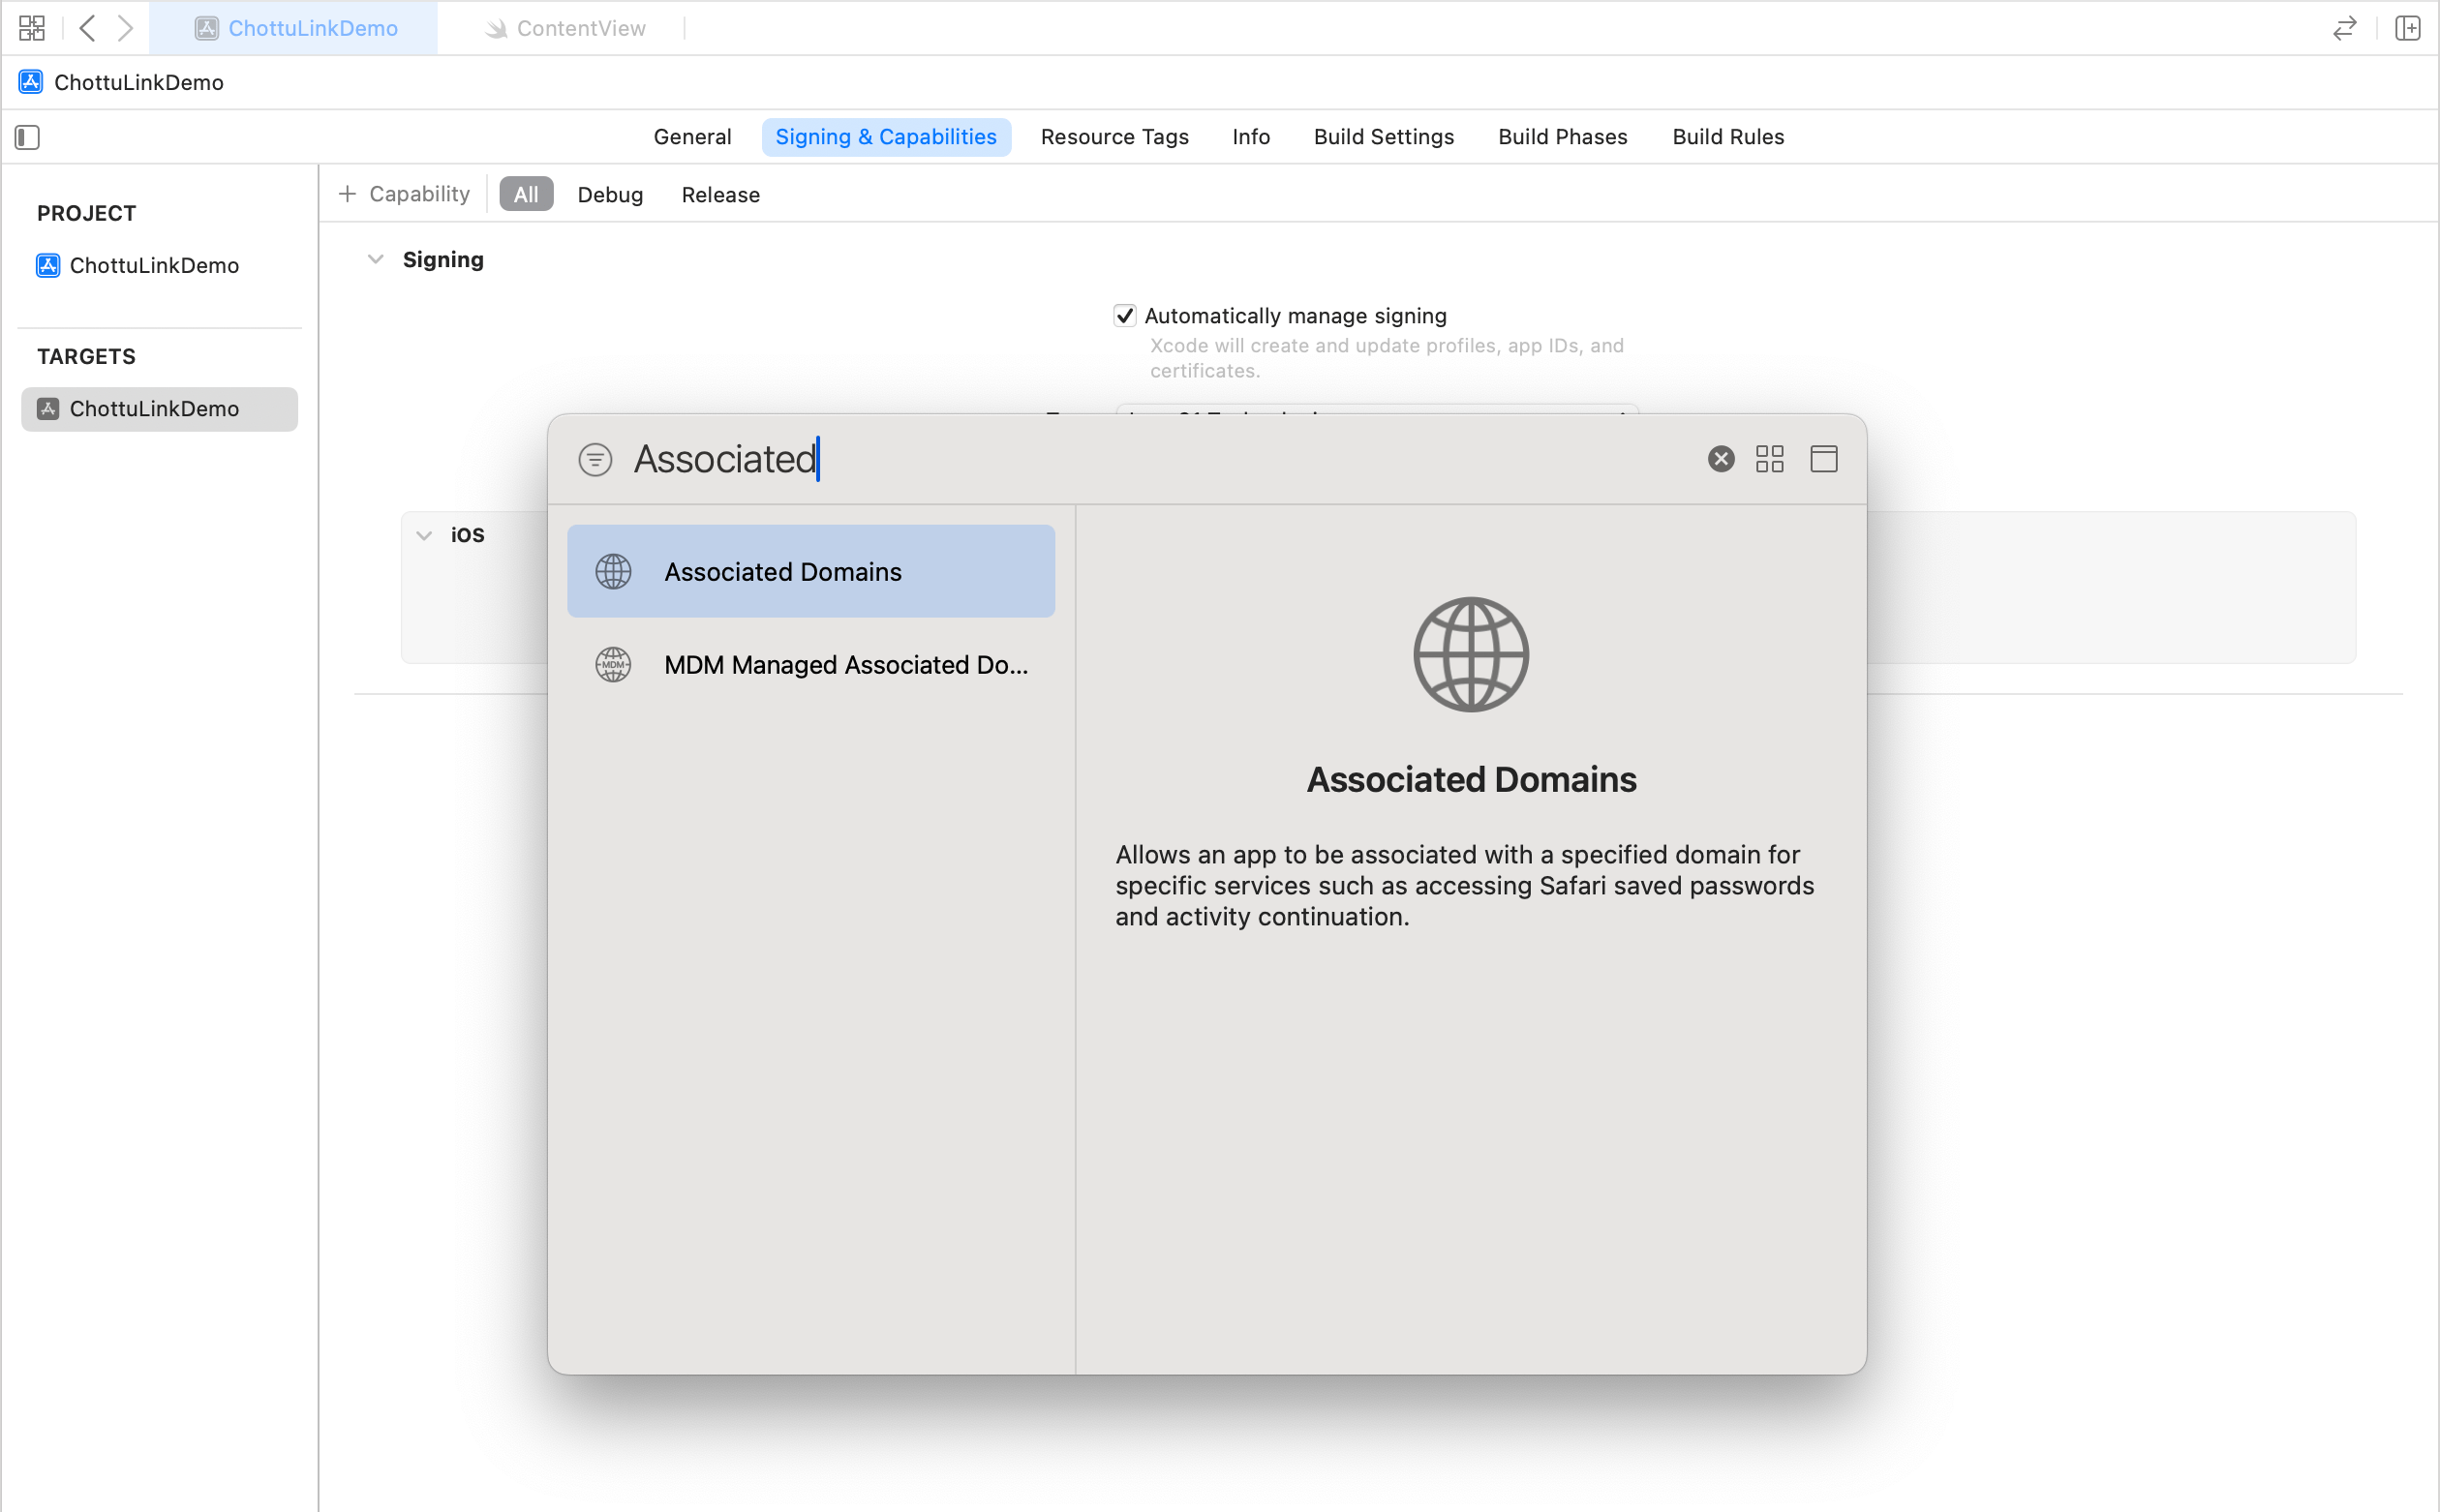
5. Configure Associated Domains
Associated Domains are configured to securely link your app with your website. Without this setup, features like Universal Links won't function properly, resulting in a less seamless user experience.
- Open your project in Xcode
- Select your project in the navigator
- Select your target under TARGETS
- Click on the "Signing & Capabilities" tab
- Click the "+" button in the top-left corner of the capabilities section
- Search for and select "Associated Domains"
- Add Your Domain
-
In the Associated Domains section that appears, click the "+" button under "Domains"
-
Add your domain using the following format:
applinks:your_dynamic_links_domainFor example, if your domain is
yourapp.chottu.link, you would add:applinks:yourapp.chottu.link
-
Installation
Choose your preferred integration method to add the ChottuLink SDK. You can either use Swift Package Manager for an automatic setup or manually add the framework files to your project.
Using Swift Package Manager
There are two ways to add the ChottuLink SDK using Swift Package Manager:
Method 1: Using Xcode UI
- Open your Xcode project
- Go to File > Add Packages...
- In the search bar, paste the repository URL:
https://github.com/ConnectingDotsInfotech/chottulink-ios-sdk.git - Click "Add Package"
- Select your target and click "Add Package"
Method 2: Using Package.swift
If you're using a Swift package project, add the dependency to your Package.swift file:
// swift-tools-version:6.2
import PackageDescription

let package = Package(
    name: "YourApp",
    platforms: [
        .iOS(.v15),
        .macOS(.v10_15)
    ],
    dependencies: [
        .package(
            url: "https://github.com/ConnectingDotsInfotech/chottulink-ios-sdk.git",
            from: "1.0.8"  // Use the latest version
        )
    ],
    targets: [
        .target(
            name: "YourApp",
            dependencies: ["ChottuLinkSDK"]
        )
    ]
)
Make sure to replace 1.0.8 with the latest version of the SDK. You can find the latest version on our GitHub repository.
Using Manual XCFramework
Follow these steps to manually integrate the ChottuLink SDK into your iOS project:
Step 1: Download the XCFramework
- Download the latest
ChottuLinkSDK-x.x.x-xcframework.zipfrom the Github Releases - Extract the zip file
Step 2: Add XCFramework to Your Project
- Open your Xcode project
- In the Project Navigator, right-click on your project
- Select "Add Files to [Your Project Name]..."
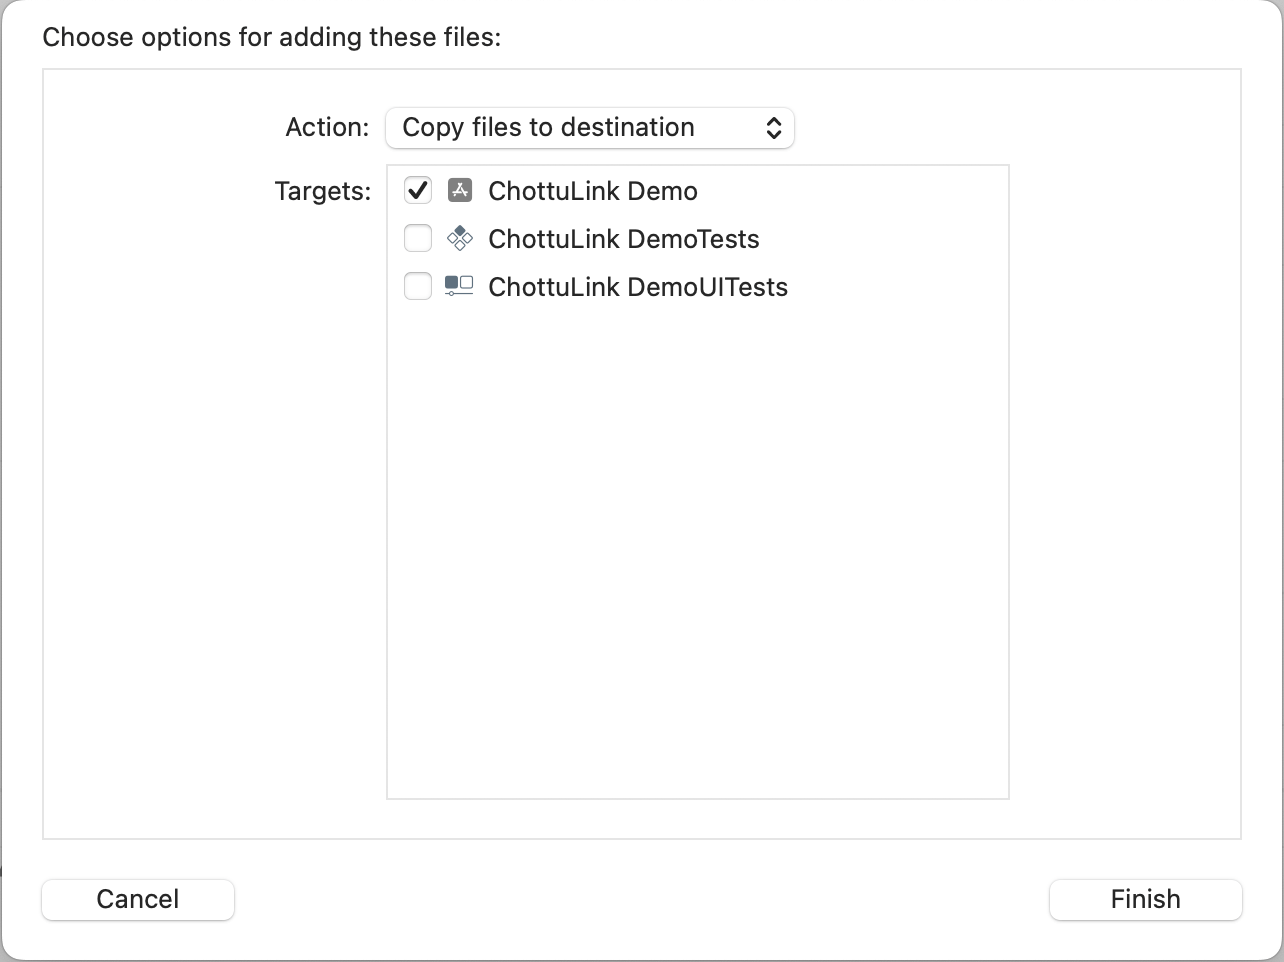
- Navigate to and select the extracted
ChottuLinkSDK.xcframework - In the options dialog that appears:
- Check "Copy files to destination"
- Select your target in "Add to targets"
- Click "Add"
Step 3: Configure Framework Settings
- Select your project in the Project Navigator
- Select your target
- Go to the "General" tab
- Under "Frameworks, Libraries, and Embedded Content":
- Verify
ChottuLinkSDK.xcframeworkis listed - Set "Embed & Sign" for the framework
- Verify

- Always use the latest version of the
xcframeworkfrom the ChottuLink Dashboard - Make sure the
xcframeworkis properly embedded and signed - Keep a backup of your project before making these changes
Initialize the ChottuLink SDK
This section details how to initialize the ChottuLink SDK depending on the kind of app you have.
If you encounter any build errors, try these troubleshooting steps:
- Clean the build folder (Shift + Command + K)
- Clean the build cache (Option + Shift + Command + K)
- Delete derived data (Window > Projects > Click on arrow next to derived data)
- Restart Xcode
SwiftUI Lifecycle
To initialize the ChottuLink SDK in a SwiftUI project, you’ll need to manually create an AppDelegate and register it
with your app’s entry point.
Step 1: Create AppDelegate.swift
Create a new Swift file named AppDelegate.swift in your project’s main directory.
Note: You can get the mobile SDK API KEY from ChottuLink Dashboard API Keys section
import UIKit
import ChottuLinkSDK

class AppDelegate: NSObject, UIApplicationDelegate {

    func application(_ application: UIApplication,
                     didFinishLaunchingWithOptions launchOptions: [UIApplication.LaunchOptionsKey: Any]? = nil) -> Bool {

        // Initialize ChottuLink SDK with your Mobile SDK key
        // Replace "your-api-key" with your actual Mobile SDK key e.g. chottulink_xxxxxxxxxxxxxxxxxxxxxxxx
        let config = CLConfiguration(apiKey: "your-api-key")
        ChottuLink.initialize(config: config)

        return true
    }
}
Step 2: Register AppDelegate in YourApp.swift
import SwiftUI

@main
struct YourApp: App {
    // Register the AppDelegate
    @UIApplicationDelegateAdaptor(AppDelegate.self) var appDelegate

    var body: some Scene {
        WindowGroup {
            ContentView()
        }
    }
}
UIKit Lifecycle
If your app uses the UIKit lifecycle, you can initialize the ChottuLink SDK directly inside your AppDelegate.
Step 1: Locate or Create AppDelegate.swift
If you’re using the default UIKit template in Xcode, your project already includes AppDelegate.swift.
Paste or update the following code inside your AppDelegate:
import UIKit
import ChottuLinkSDK

@UIApplicationMain
class AppDelegate: UIResponder, UIApplicationDelegate {

    func application(_ application: UIApplication,
                     didFinishLaunchingWithOptions launchOptions: [UIApplication.LaunchOptionsKey: Any]? = nil) -> Bool {

        // Initialize ChottuLink SDK with your Mobile SDK key
        // Replace "your-api-key" with your actual Mobile SDK key e.g. chottulink_xxxxxxxxxxxxxxxxxxxxxxxx
        let config = CLConfiguration(apiKey: "your-api-key")
        ChottuLink.initialize(config: config)

        return true
    }
}
Optional: Add Delegate for SDK Callbacks
ChottuLink offers delegate callbacks for various events. To receive these callbacks, you need to:
- Conform to the
ChottuLinkDelegateprotocol - Implement the required delegate methods
- Set yourself as the delegate during initialization
Here's a complete example:
// Conform to the delegate protocol if needed (i.e. ChottuLinkDelegate)
class AppDelegate: UIResponder, UIApplicationDelegate, ChottuLinkDelegate {

    func application(_ application: UIApplication,
                     didFinishLaunchingWithOptions launchOptions: [UIApplication.LaunchOptionsKey: Any]? = nil) -> Bool {

        // Initialize ChottuLink SDK with delegate
        // Replace "your-api-key" with your actual Mobile SDK key e.g. chottulink_xxxxxxxxxxxxxxxxxxxxxxxx
        let config = CLConfiguration(
             apiKey: "your-api-key",
             delegate: self
         )
        ChottuLink.initialize(config: config)

        return true
    }

    // MARK: - ChottuLinkDelegate Methods

    // Handle successful sdk initialization
    func chottuLink(didInitializeWith configuration: CLConfiguration) {

        print("SDK initialized with API key: \(configuration.apiKey)")
    }

    // Handle sdk initialization errors
    func chottuLink(didFailToInitializeWith error: any Error) {

        print("Initialization Error: \(error.localizedDescription)")
    }
}
The delegate methods allow you to:
- Track deep link resolutions
- Handle errors gracefully
- Monitor SDK initialization
- Respond to lifecycle events
Next Steps
After completing the iOS setup: