Capacitor Integration
This guide will help you configure your Capacitor app for ChottuLink Dynamic Links. You can complete this setup either during the initial onboarding or later from your project settings.
This SDK supports Ionic v4.0+ and later versions. If you're using Ionic, ensure you have Ionic 4.0 or higher installed.
Prerequisites
Before integrating ChottuLink into your Capacitor app, ensure you have the following:
Development Environment
- Node.js
18.0+installed - npm or yarn package manager
- Capacitor CLI installed globally or locally
- A working Capacitor project
- Xcode
16.2or later installed (for iOS development) - Android Studio or other IDE with Android SDK installed (for Android development)
- Physical devices or simulators/emulators to run your app
Project Requirements
- Capacitor
5.0+or later - Ionic
4.0+or later (if using Ionic framework) - iOS
15.0+deployment target (if building for iOS) - Android
5.0+ (API 21+)minimum SDK (if building for Android)
Configure ChottuLink Dashboard
1. For iOS Click here
2. For Android Click here
Installation
1. Install the ChottuLink Capacitor Plugin
Add the ChottuLink Capacitor SDK to your project:
npm install capacitor-chottulink-sdk
Or using yarn:
yarn add capacitor-chottulink-sdk
2. Sync Native Projects
After installing the plugin, sync it with your native iOS and Android projects:
npx cap sync
This command will:
- Copy the plugin to your native projects
- Update native dependencies
- Update native project files if needed
Platform Specific Configurations
1. For iOS
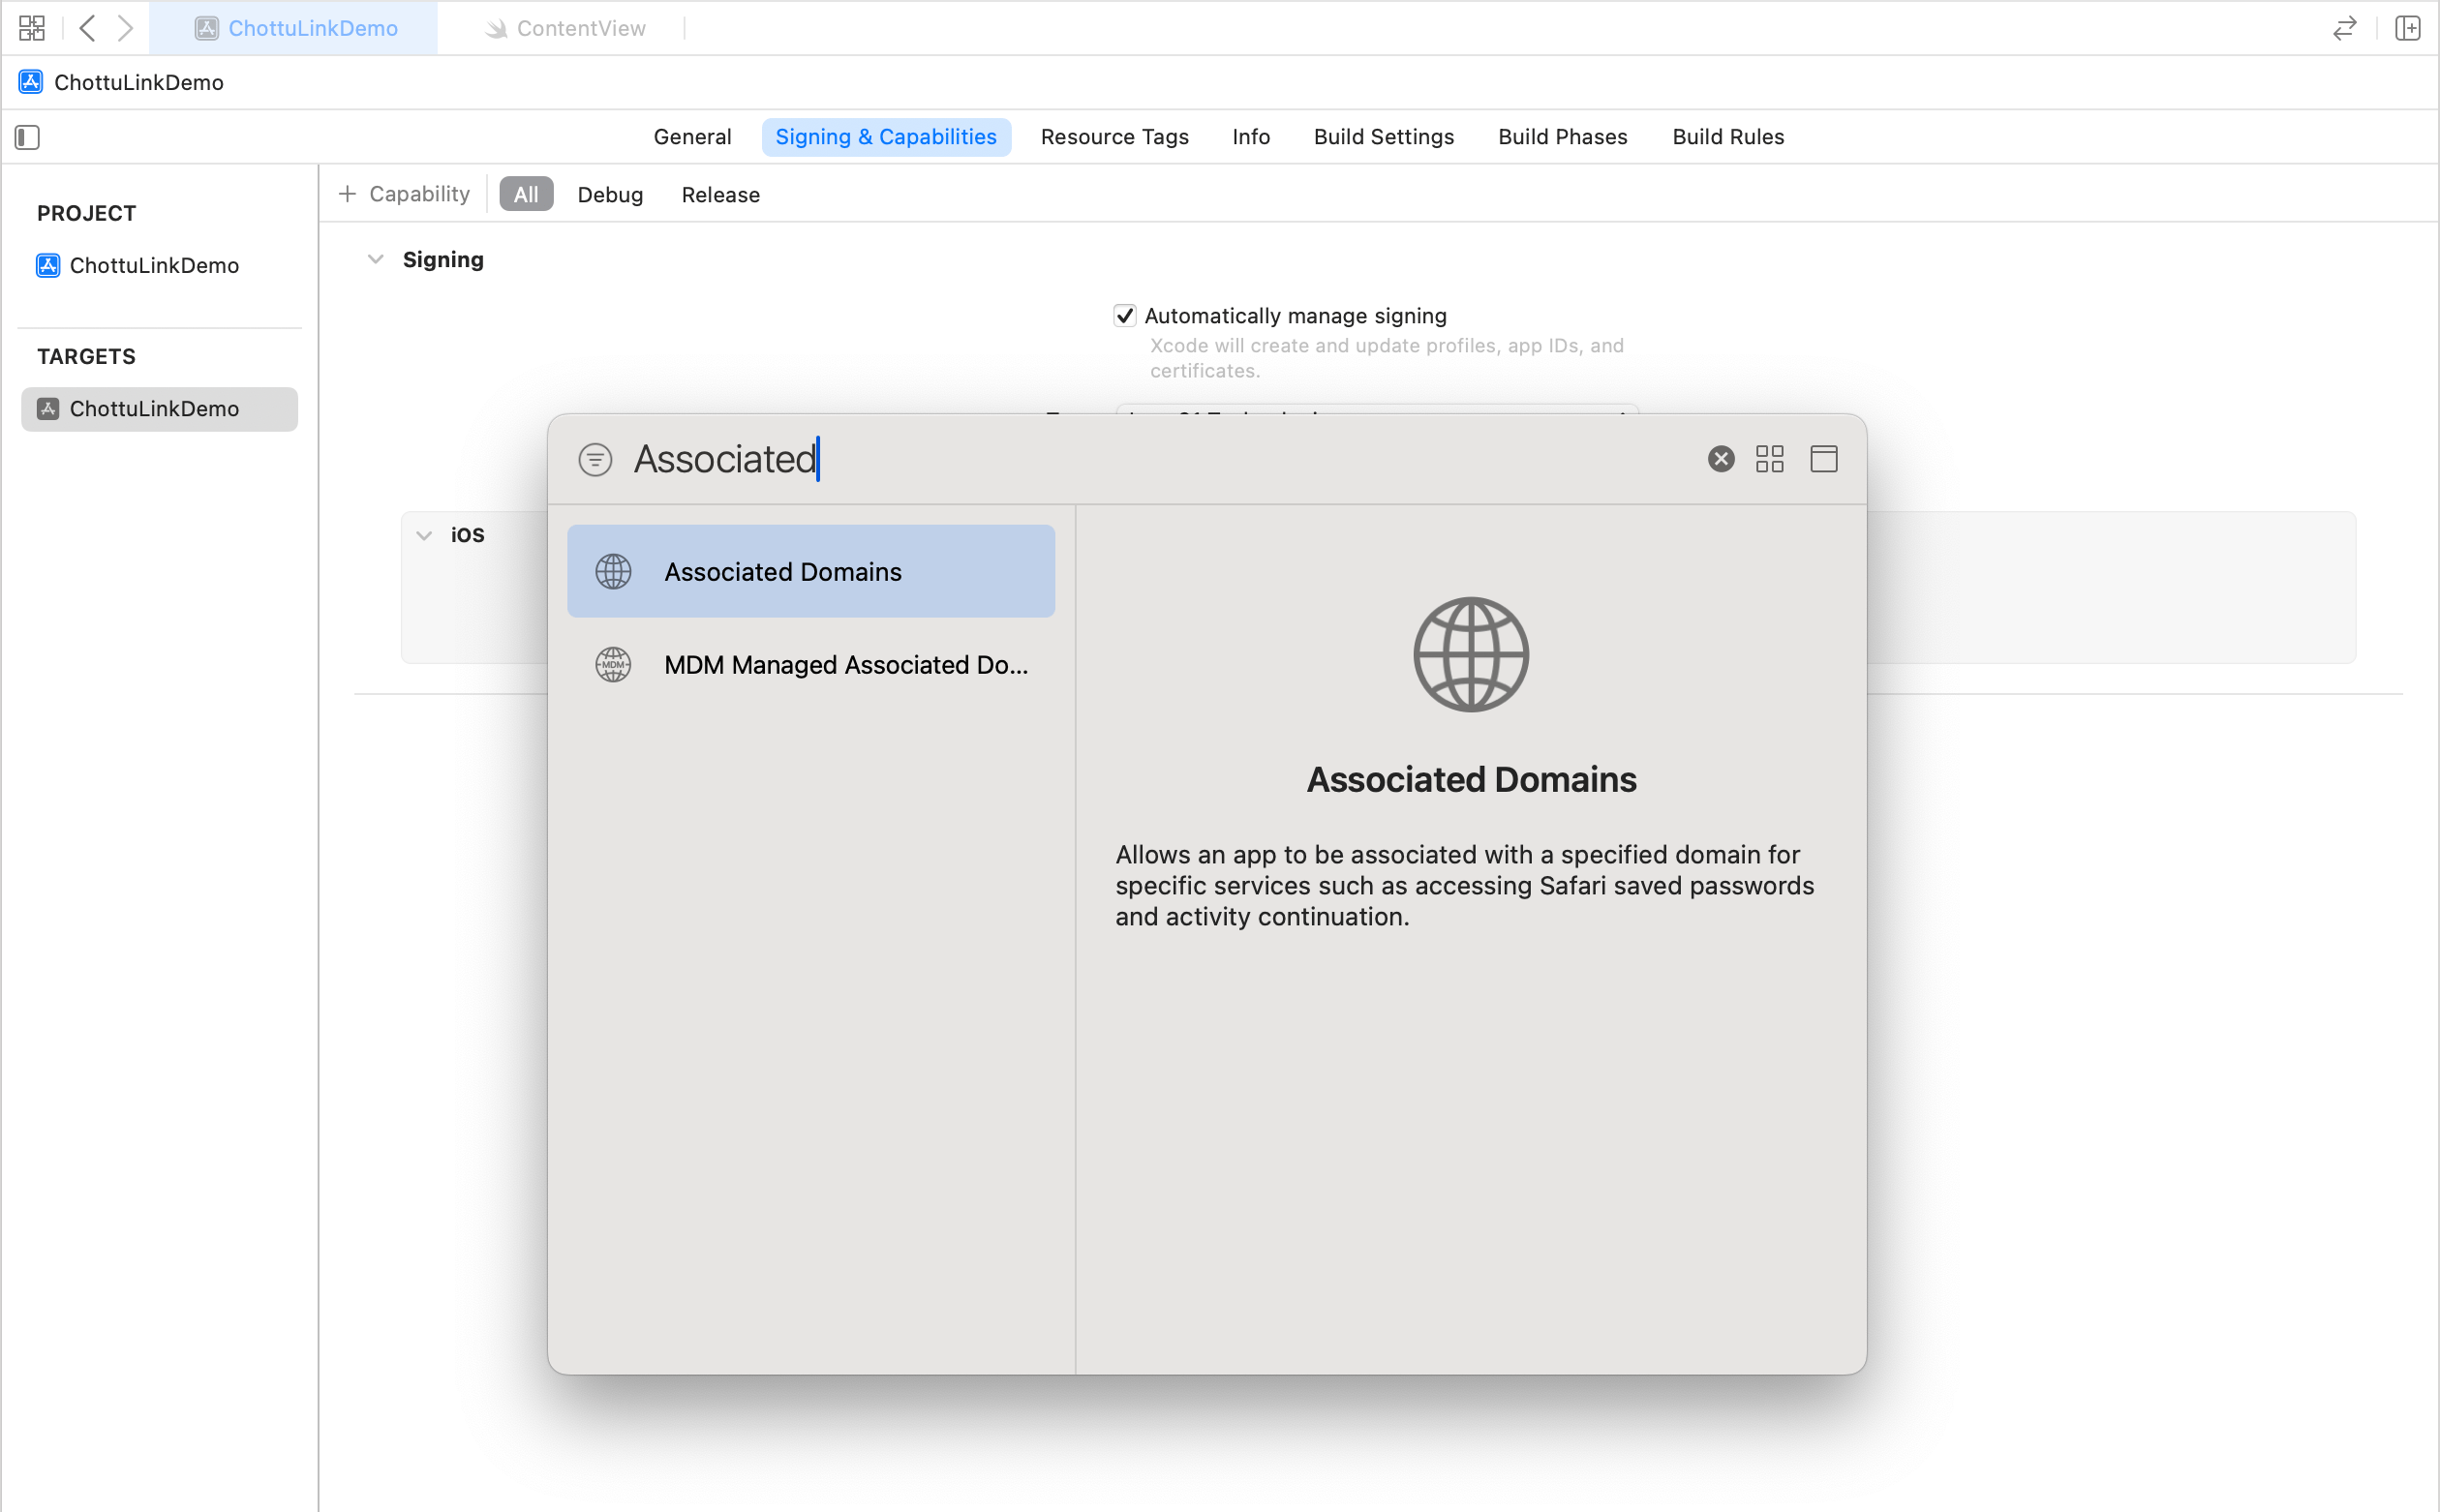
Configure Associated Domains
Associated Domains are configured to securely link your app with your website. Without this setup, features like Universal Links won't function properly, resulting in a less seamless user experience.
-
Open your iOS project in Xcode:
npx cap open ios -
Select your project in the navigator
-
Select your target under TARGETS
-
Click on the "Signing & Capabilities" tab
-
Click the "+" button in the top-left corner of the capabilities section
-
Search for and select "Associated Domains"
- Add Your Domain
-
In the Associated Domains section that appears, click the "+" button under "Domains"
-
Add your domain using the following format:
applinks:your_dynamic_links_domainFor example, if your domain is
yourapp.chottu.link, you would add:applinks:yourapp.chottu.link
-
2. For Android
Update Your App's Manifest File
Your app's AndroidManifest.xml file needs a couple of things:
- The internet permission (if you haven't added it already).
- To know which part of your app should open when a ChottuLink URL is clicked.
The AndroidManifest.xml is typically located at android/app/src/main/AndroidManifest.xml.
Here's how it might look. Make sure to change the highlighted parts!
<manifest xmlns:android="http://schemas.android.com/apk/res/android"
    package="com.example.yourapp">
    <uses-permission android:name="android.permission.INTERNET" />

    <application
        ... >
        <!-- This part tells Android which Activity opens your links -->
        <activity
            android:name=".MainActivity"
            android:exported="true"
            android:launchMode="singleTop">
            <intent-filter>
                <action android:name="android.intent.action.MAIN"/>
                <category android:name="android.intent.category.LAUNCHER"/>
            </intent-filter>

            <!-- Add the highlighted lines in your manifest -->
            <intent-filter android:autoVerify="true">
                <action android:name="android.intent.action.VIEW" />
                <category android:name="android.intent.category.DEFAULT" />
                <category android:name="android.intent.category.BROWSABLE" />
                <data android:scheme="http"/>
                <data android:scheme="https"/>
                <!-- Change "yourapp.chottu.link" to the special domain you set up for your ChottuLink URLs -->
                <data android:host="yourapp.chottu.link"/>
            </intent-filter>
        </activity>
        ...
    </application>
</manifest>
Remember to change:
yourapp.chottu.linkto the domain you've set up on ChottuLink Dashboard for your app's links.
Initialize the ChottuLink SDK
You need to initialize the ChottuLink SDK when your app starts. A good place to do this is in your app's main entry point or initialization file.
You can get the Mobile SDK Integration Key from ChottuLink Dashboard Keys section
Example: TypeScript/JavaScript
import { ChottuLinkIonicSDK } from 'capacitor-chottulink-sdk';
import { App } from '@capacitor/app';

// Initialize ChottuLink SDK
// Replace "YOUR_API_KEY" with your real API Key from your ChottuLink dashboard Keys section.
ChottuLinkIonicSDK.initialize({ apiKey: 'YOUR_API_KEY' })
  .then(() => {
    console.log('✅ ChottuLink initialized successfully');
  })
  .catch((error) => {
    console.error('❌ Error initializing ChottuLink:', error);
  });
Example: React
import { useEffect } from 'react';
import { ChottuLinkIonicSDK } from 'capacitor-chottulink-sdk';
import { App } from '@capacitor/app';

function App() {
  useEffect(() => {
    // Initialize ChottuLink SDK
      ChottuLinkIonicSDK.initialize({ apiKey: 'YOUR_API_KEY' })
      .then(() => {
        console.log('✅ ChottuLink initialized successfully');
      })
      .catch((error) => {
        console.error('❌ Error initializing ChottuLink:', error);
      });
  }, []);

  return (
    // Your app content
  );
}
Example: Vue
import { onMounted } from 'vue';
import { ChottuLinkIonicSDK } from 'capacitor-chottulink-sdk';
import { App } from '@capacitor/app';

export default {
  setup() {
    onMounted(() => {
      // Initialize ChottuLink SDK
        ChottuLinkIonicSDK.initialize({ apiKey: 'YOUR_API_KEY' })
        .then(() => {
          console.log('✅ ChottuLink initialized successfully');
        })
        .catch((error) => {
          console.error('❌ Error initializing ChottuLink:', error);
        });
    });
  }
};
Example: Angular
import { Component, OnInit } from '@angular/core';
import { ChottuLinkIonicSDK } from 'capacitor-chottulink-sdk';
import { App } from '@capacitor/app';

@Component({
  selector: 'app-root',
  templateUrl: 'app.component.html',
})
export class AppComponent implements OnInit {
  async ngOnInit() {
    try {
      // Initialize ChottuLink SDK
      await ChottuLinkIonicSDK.initialize({ apiKey: 'YOUR_API_KEY' });
      console.log('✅ ChottuLink initialized successfully');
    } catch (error) {
      console.error('❌ Error initializing ChottuLink:', error);
    }
  }
}
- Always initialize the ChottuLink SDK before using any of its features
- Make sure to replace
YOUR_API_KEYwith your actual API key from the ChottuLink Dashboard - The initialization should happen early in your app's lifecycle, ideally in your app's entry point
Next Steps
After completing the Capacitor setup: