Android Integration
This guide will help you configure your Android app for ChottuLink Dynamic Links. You can complete this setup either during the initial onboarding or later from your project settings.
Prerequisites
Before integrating ChottuLink into your Android app, ensure you have the following:
Development Environment
- Install or update Android Studio to its latest version
Project Requirements
- Make sure that your project meets these requirements:
- Targets API level 21 (Lollipop) or higher
- Uses Android 5.0 or higher
Testing Requirements
- Set up a physical device or use an emulator to run your app
Configure ChottuLink Dashboard
Start by configuring the ChottuLink Dashboard for your application. This step is typically completed during the onboarding process after registration.
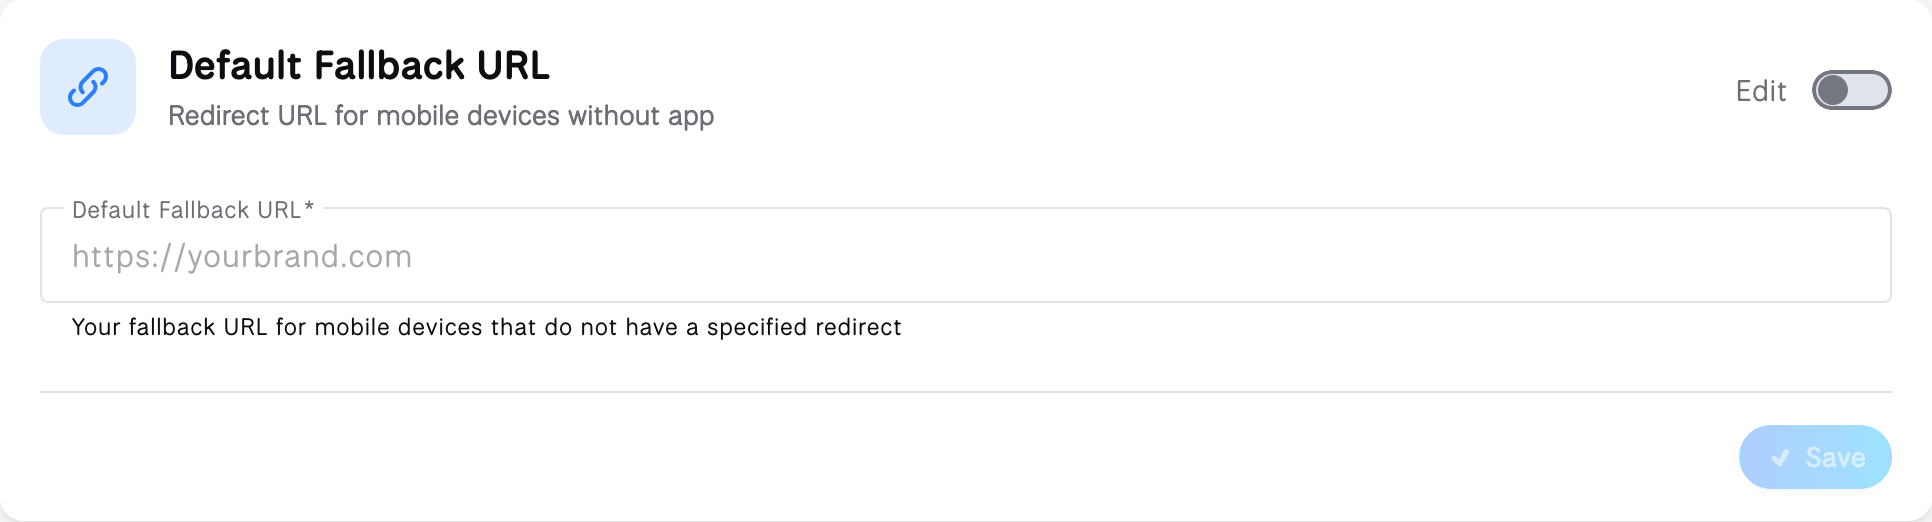
To ensure proper redirection, configure the default fallback URL for your app in the Project Settings section of the ChottuLink Dashboard.
1. Enable Android App
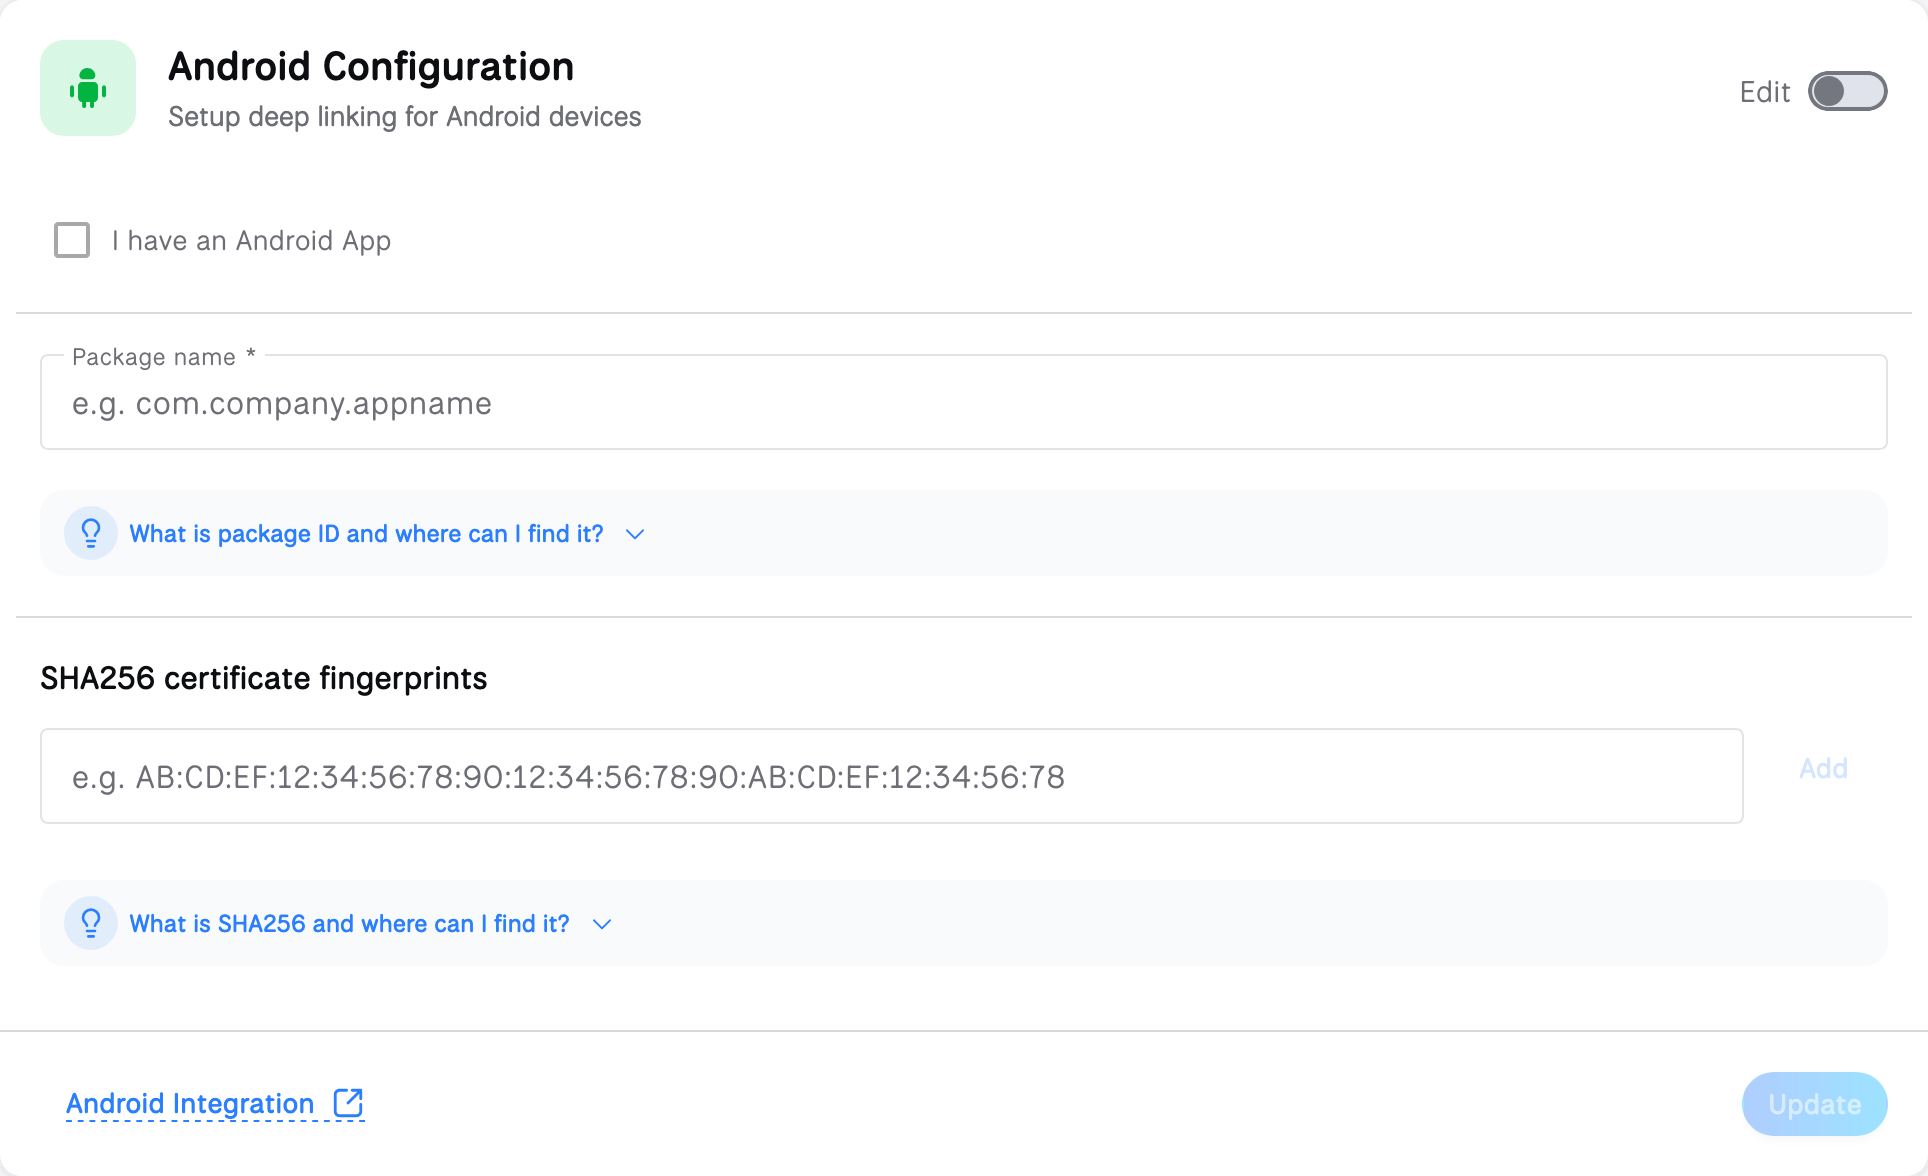
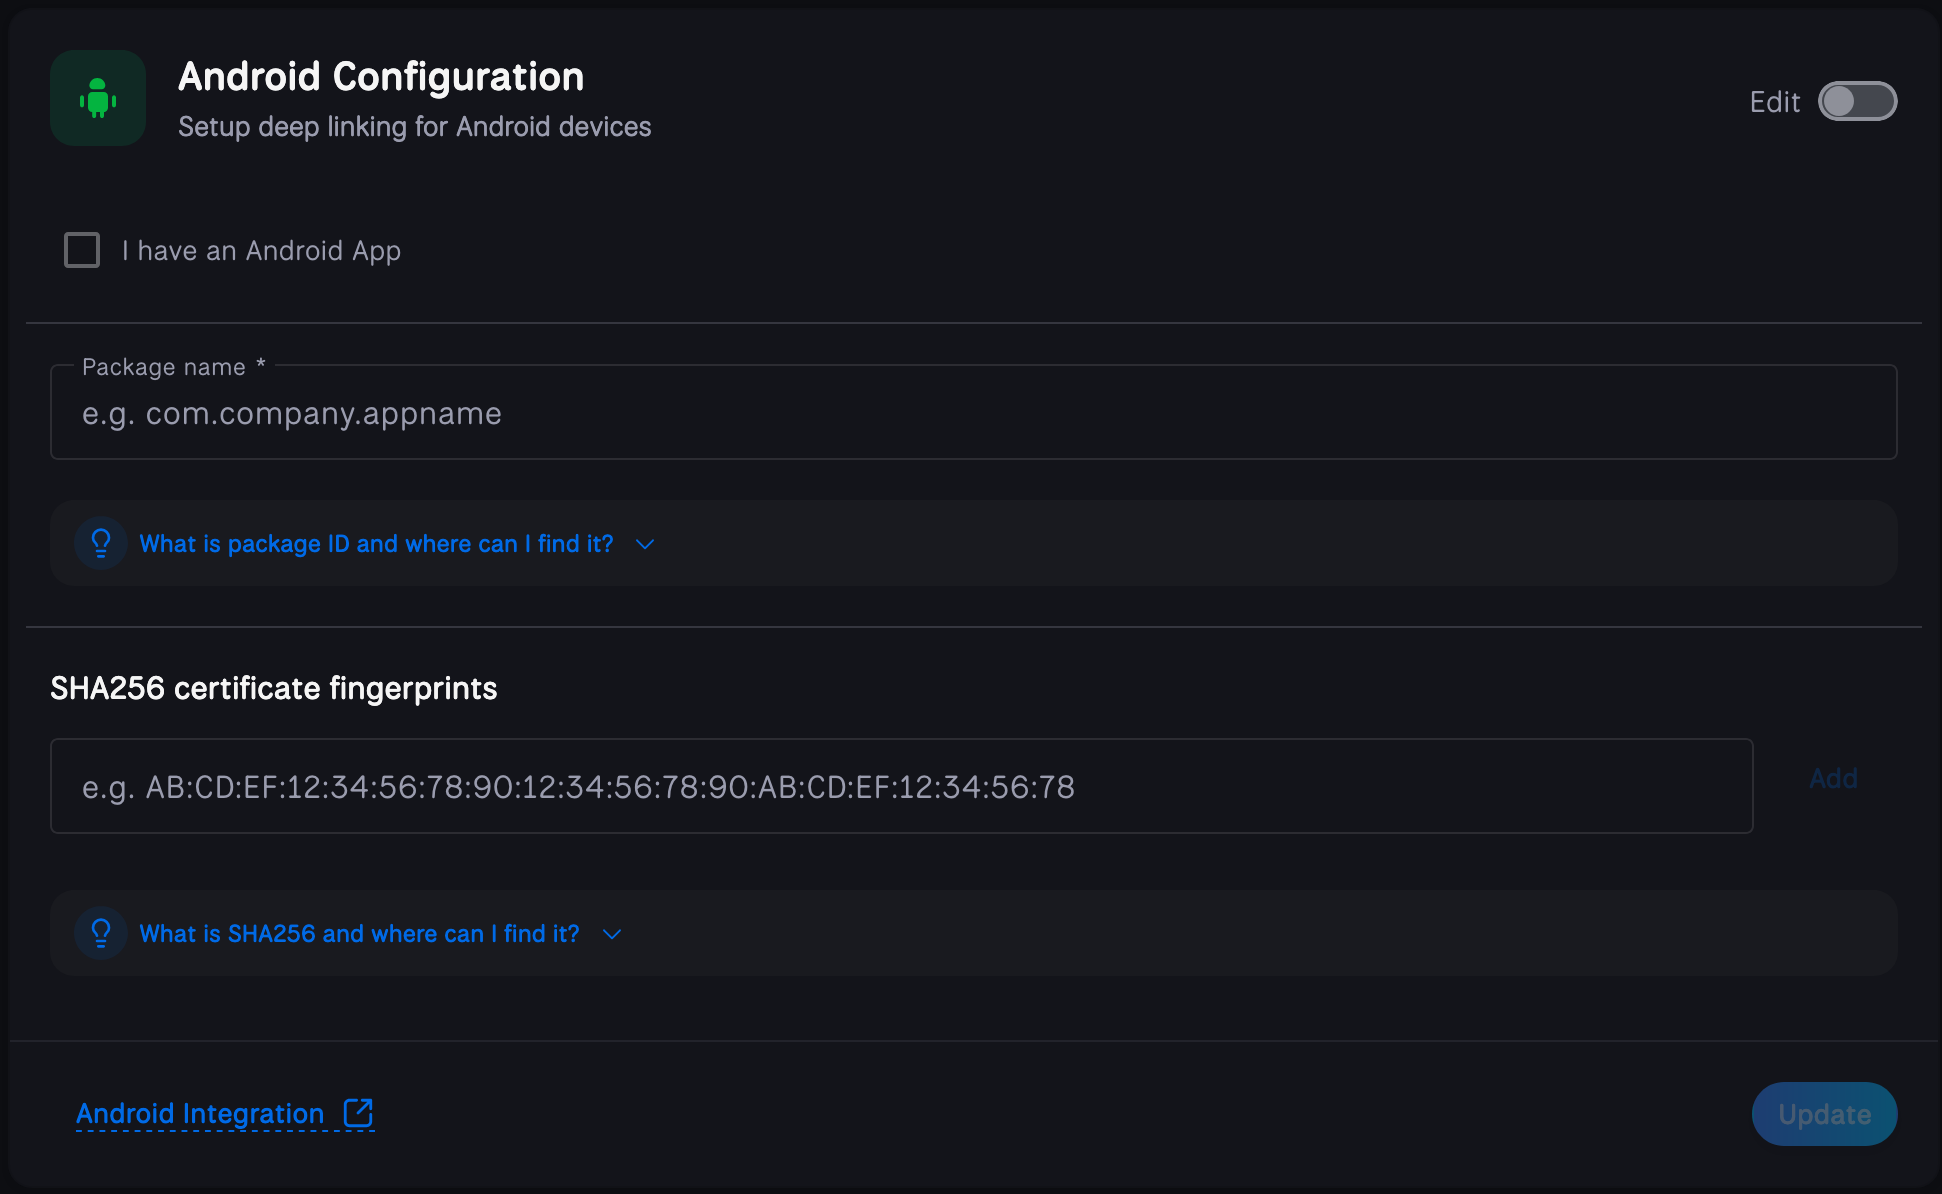
- Navigate to your project settings ChottuLink Dashboard
- Check the "I have an Android App" checkbox
- Fill in the required Android app information
2. Package Name
The Package Name is your app's unique identifier in the Android ecosystem. It's required for app signing and Play Store listing.
How to find your Package Name?
- Open your project in Android Studio
- Open your app's
build.gradlefile - Look for the
applicationIdfield underdefaultConfig
- Format:
com.yourcompany.appname - Example:
com.example.myapp
Alternatively, you can find it in your AndroidManifest.xml:
<manifest xmlns:android="http://schemas.android.com/apk/res/android"
          package="com.example.myapp">
3. Add your SHA‑256 fingerprint
To improve deep link reliability on Android, we recommend adding at least one SHA‑256 certificate fingerprint for your app.
How to get your SHA‑256 fingerprint?
- Open Android Studio
- Open the Gradle panel (View > Tool Windows > Gradle)
- Navigate to YourApp > Tasks > android
- Double-click on
signingReport - Look for the SHA-256 values in the Run window
Alternatively, you can get the fingerprint using the command line:
# For debug keystore
keytool -list -v -keystore ~/.android/debug.keystore -alias androiddebugkey -storepass android -keypass android

# For release keystore
keytool -list -v -keystore path/to/your/keystore.jks -alias your-key-alias
If your app is published on Google Play, also add the SHA-256 of the Play app signing key. Google re-signs your app with this key, so it differs from both your local debug and release keystores:
- Open your app in the Google Play Console
- In the left-hand menu, navigate to Protected with Play > Play Store protection and click Manage Play app signing
- Scroll to the App signing key section
- Click the copy icon next to SHA-256 certificate fingerprint
Installation
1. Add the SDK to Your Android App
You need to tell your Android project to use the ChottuLink SDK.
Open the build.gradle file that's for your app (not the project-level one).
Add this line inside the dependencies section:
dependencies {
    // ... any other dependencies you have
    implementation 'com.chottulink:android-sdk:1.1.2' // IMP: Change '1.1.2' to the newest SDK version!
}
2. Update Your App's Manifest File
Your app's AndroidManifest.xml file needs a couple of things:
- The internet permission (if you haven't added it already).
- To know which part of your app should open when a ChottuLink URL is clicked.
Here's how it might look. Make sure to change the highlighted parts!
<manifest xmlns:android="http://schemas.android.com/apk/res/android"
    package="com.example.yourapp">
    <uses-permission android:name="android.permission.INTERNET" />

    <application
        ... >
        <!-- This part tells Android which Activity opens your links -->
        <activity
            android:name=".YourDeepLinkActivity" // <-- Change this to your Activity that handles links
            android:exported="true">
            <intent-filter android:autoVerify="true">
                <action android:name="android.intent.action.VIEW" />
                <category android:name="android.intent.category.DEFAULT" />
                <category android:name="android.intent.category.BROWSABLE" />
                <data android:scheme="http"/>
                <data android:scheme="https"/>
                <!-- Change "yourapp.chottu.link" to the special domain you set up for your ChottuLink URLs -->
                <data android:host="yourapp.chottu.link"/>
            </intent-filter>
        </activity>
        ...
    </application>
</manifest>
Remember to change:
.YourDeepLinkActivityto the name of your app's screen (Activity) that will open when these links are clicked.yourapp.chottu.linkto the domain you've set up on ChottuLink Dashboard for your app's links.
Initialize the ChottuLink SDK
You need to "turn on" or initialize the ChottuLink SDK when your app starts. A good place to do this is in your Application class.
You can get the mobile SDK API KEY from ChottuLink Dashboard API Keys section
If you don't have one, you can create a Java class like this:
import android.app.Application;
import com.chottulink.lib.ChottuLink;

public class YourApplication extends Application {

    @Override
    public void onCreate() {
        super.onCreate();

        // Initialize the ChottuLink SDK!
        // IMPORTANT: Replace "YOUR_API_KEY" with your real API Key from your ChottuLink dashboard Keys section.
        ChottuLink.init(this, "YOUR_API_KEY");
    }
}
Then, tell your AndroidManifest.xml to use this YourApplication class:
<application
    android:name=".YourApplication" <!-- Like this! -->
    ... >
    ...
</application>
Next Steps
After completing the Android setup: